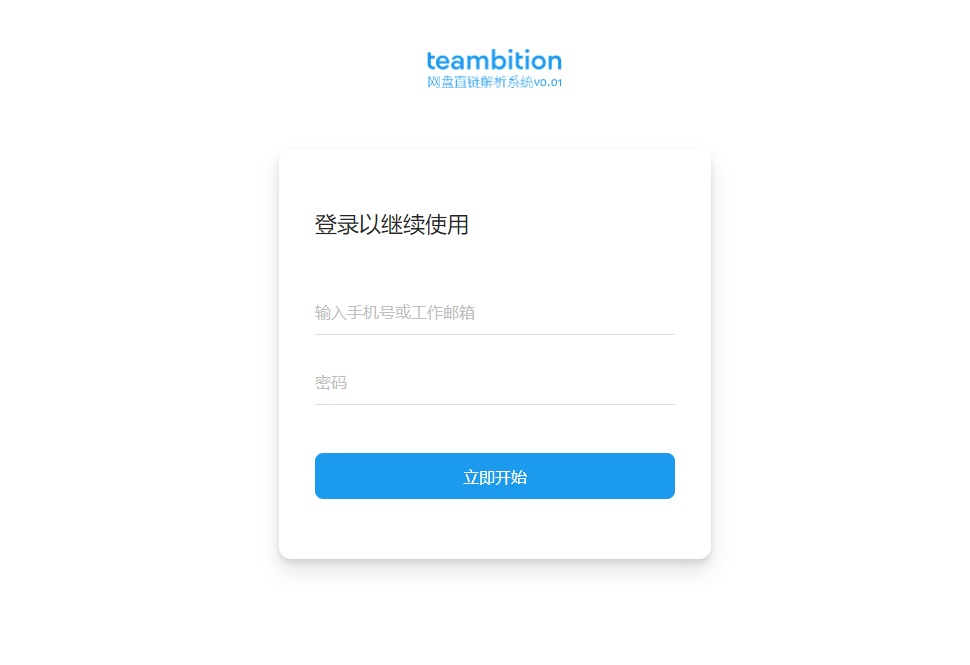
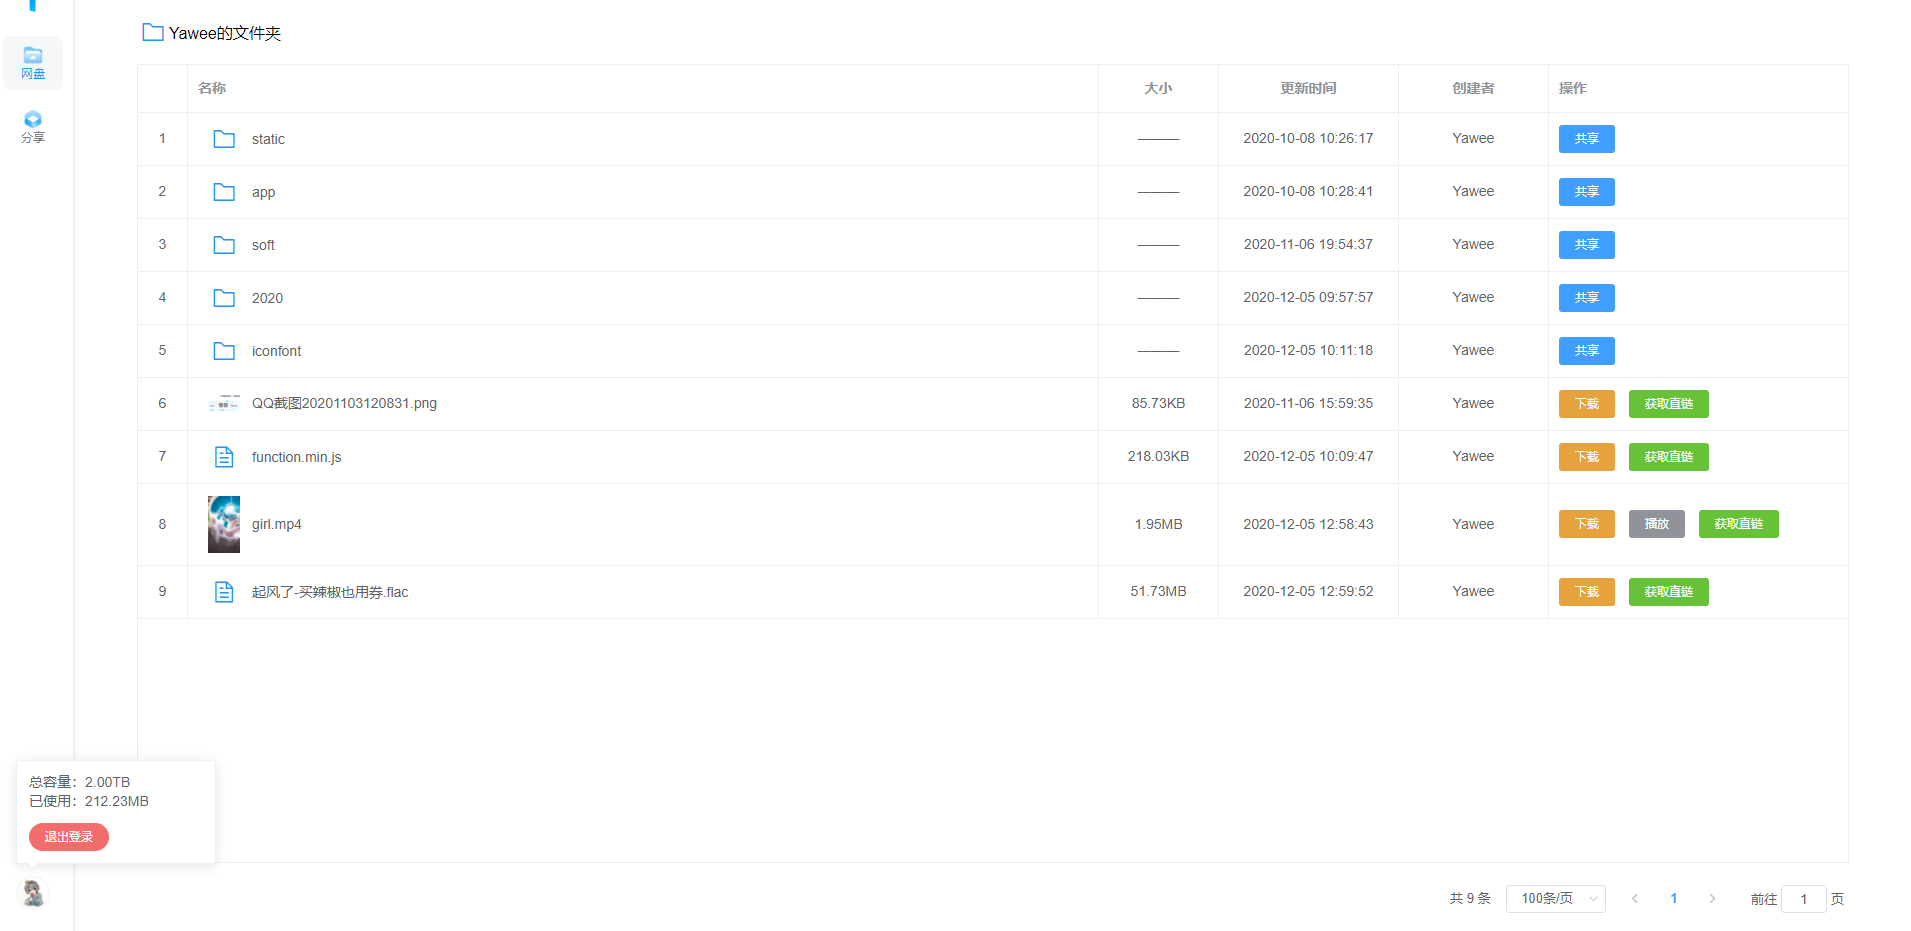
网盘直链解析,就是将网盘的下载链接转为一个其他用户可以直接访问下载的链接,对于我们开发者来说,可以直接用直链在项目中引用一些静态文件,达成节约成本的目的。
之前有使用过基于onedrive、天翼云盘的直链程序,今天吾爱破解的大佬badyun发布了这个基于nodejs开发的Teambition网盘的直链解析系统,原帖在这里:灰机直达,然后博主就立马Mark并将程序跑起来,测试地址:https://list.cxcf.cf,下面是基于本直链解析系统的音乐播放测试(51.7M的flac无损格式,不支持ios播放):


安装方法:
Linux服务器
依次执行如下代码(备用地址:https://cloud.chinsea.net/directlink/1/sourceCode/program/teambition/app)
mkdir teambition && cd teambition
wget https://one.blob.core.chinacloudapi.cn/badyun/teambition/v0.01/app
chmod +x ./app
./app然后访问http://你的ip:5213即可
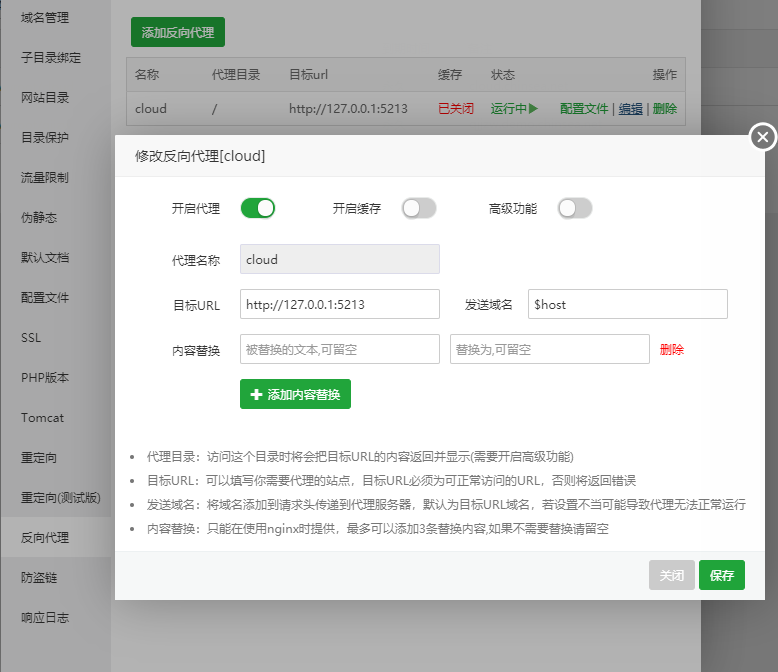
反向代理设置
在你的服务器新建一个主机,根目录对应到你的teambition目录,就是让绑定的域名指向到你的teambition目录,然后在网站配置文件中设置nginx或apache反代
在网站的server字段中加入:
location / {
    proxy_set_header X-Forwarded-For $proxy_add_x_forwarded_for;
    proxy_set_header Host $http_host;
    proxy_redirect off;
    proxy_pass http://127.0.0.1:5213;
}在VirtualHost字段下加入反代配置项ProxyPass,比如:
<VirtualHost *:80>
    ServerName teambition
    ServerAdmin Yawee
    DocumentRoot /你的安装路径/teambition

    AllowEncodedSlashes NoDecode
    ProxyPass "/" "http://127.0.0.1:5213/" nocanon

</VirtualHost>
推荐使用宝塔面板一键配置

进程守护可以使用nohup或Systemd
nohup:
nohup ./appSystemd(推荐):
首先新建一个systemd配置文件
vim /etc/systemd/system/teambition.service输入以下代码保存:
[Unit]
Description=teambition
Documentation=https://yaw.ee
After=network.target
Wants=network.target

[Service]
WorkingDirectory=/你的安装路径
ExecStart=/你的安装路径/app
Restart=on-abnormal
RestartSec=5s
KillMode=mixed

StandardOutput=null
StandardError=syslog

[Install]
WantedBy=multi-user.target
配置命令:
# 更新配置
systemctl daemon-reload

# 设置开机启动
systemctl enable teambition

# 启动服务
systemctl start teambition

# 停止服务
systemctl stop teambition

# 重启服务
systemctl restart teambitionve

# 查看状态
systemctl status teambition
win服务器
直接下载运行此可执行文件即可:
https://one.blob.core.chinacloudapi.cn/badyun/teambition/v0.01/app.exe
备用地址:https://cloud.chinsea.net/directlink/1/sourceCode/program/teambition/app.exe
